The following is an excerpt from Darwin’s Backyard
Struck by the occurrence of freshwater snails on many remote islands, Darwin looked into transport by sea and by air: floating or rafting, or airlifted by birds. Experiments showed that freshwater snails could not long survive in saltwater, so he decided that they were given a lift instead. Can waterfowl carry aquatic snails? Snails or other creatures might climb aboard the feet of ducks and geese, especially when ducks sleep, with their feet dangling in the water. To test this Darwin turned to his “snailery”—an aquarium with freshwater snails of all ages—in which he dangled dried duck’s feet. He soon found that several young snails climbed aboard. How long could they hang on? As he later wrote in the Origin: “These just hatched molluscs, though aquatic in their nature, survived on the duck’s feet, in damp air, from twelve to twenty hours; and in this length of time a duck or heron might fly at least six or seven hundred miles, and would be sure to alight on a pool or rivulet, if blown across the sea to an oceanic island or to any other distant point.” Here’s a duck-foot experiment that would do Darwin proud. We’ll see how much aquatic life might colonize model duck feet that we construct.
A. Materials
- 3/16 in. diameter wood dowels, cut into 6 in. (~15 cm) lengths
- Carpet tacks
- Small fishing tackle weights, assorted sizes
- Ping-Pong balls or corks
- One or more water-durable materials (e.g., denim, Velcro, can- vas), cut into shape of duck foot using accompanying sketch
- Shallow pan
- Squirt bottle, pipet, or turkey baster
- Magnifying glass or dissecting microscope
- Petri dishes
- Small knife, nail, or wood screw to carefully bore hole in the Ping-Pong ball or cork
- Silicon or rubber cement
B. Procedure
Making your duck foot model:
1. Using the sketch pictured here as a template or one of your own making, trace the duck-foot outline onto fabric or other materials used to simulate the webbed portion of a duck’s foot.
2. Using the knife or nail, carefully bore a hole large enough to insert the dowel in opposite sides of the Ping-Pong ball. Insert the dowel through the ball, with approximately 1 in. (2 cm) protruding on one end of the ball (“top”).
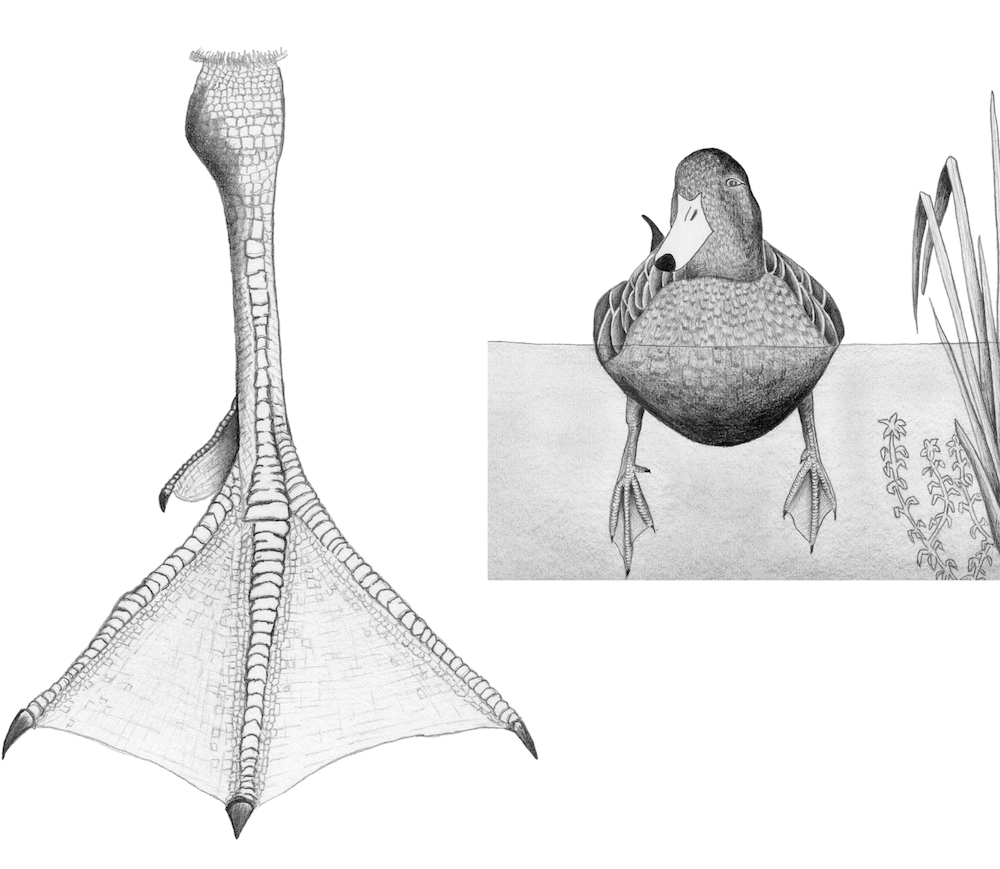
Drawing by Leslie C. Costa
3. Secure the dowel in the ball, and seal against water leakage, by applying a dab of silicon or rubber cement around the dowel where it contacts the ball. If using a cork, bore a hole on one end about 1⁄4 in. (0.6 cm) deep and firmly insert one end of the dowel.
4. Use a thumbtack to affix the duck “foot” itself to the base of the longer end of the dowel (“leg”). (Note: multiple models can be made, each with different material for the foot; the efficacy of the different materials in adhering organisms can then be compared.)
5. The aim is to float the model duck foot in water, with the leg and foot dangling down into the water column. Since the dowel leg itself is buoyant, it will likely be necessary to attach a small fishing weight to the shaft of the carpet tack affixing the foot. Test by placing your duck foot model into water (aquarium or filled sink) sufficiently deep to allow the leg to bob upright, foot down. Attach additional tackle weights as necessary to the base to get the model to float upright, but being careful not to add so much weight that the model sinks altogether. When you have the weight in balance, your duck foot is ready for deployment! A fishing line or light string can be attached to the top of the model using a thumbtack.
Deploying the model:
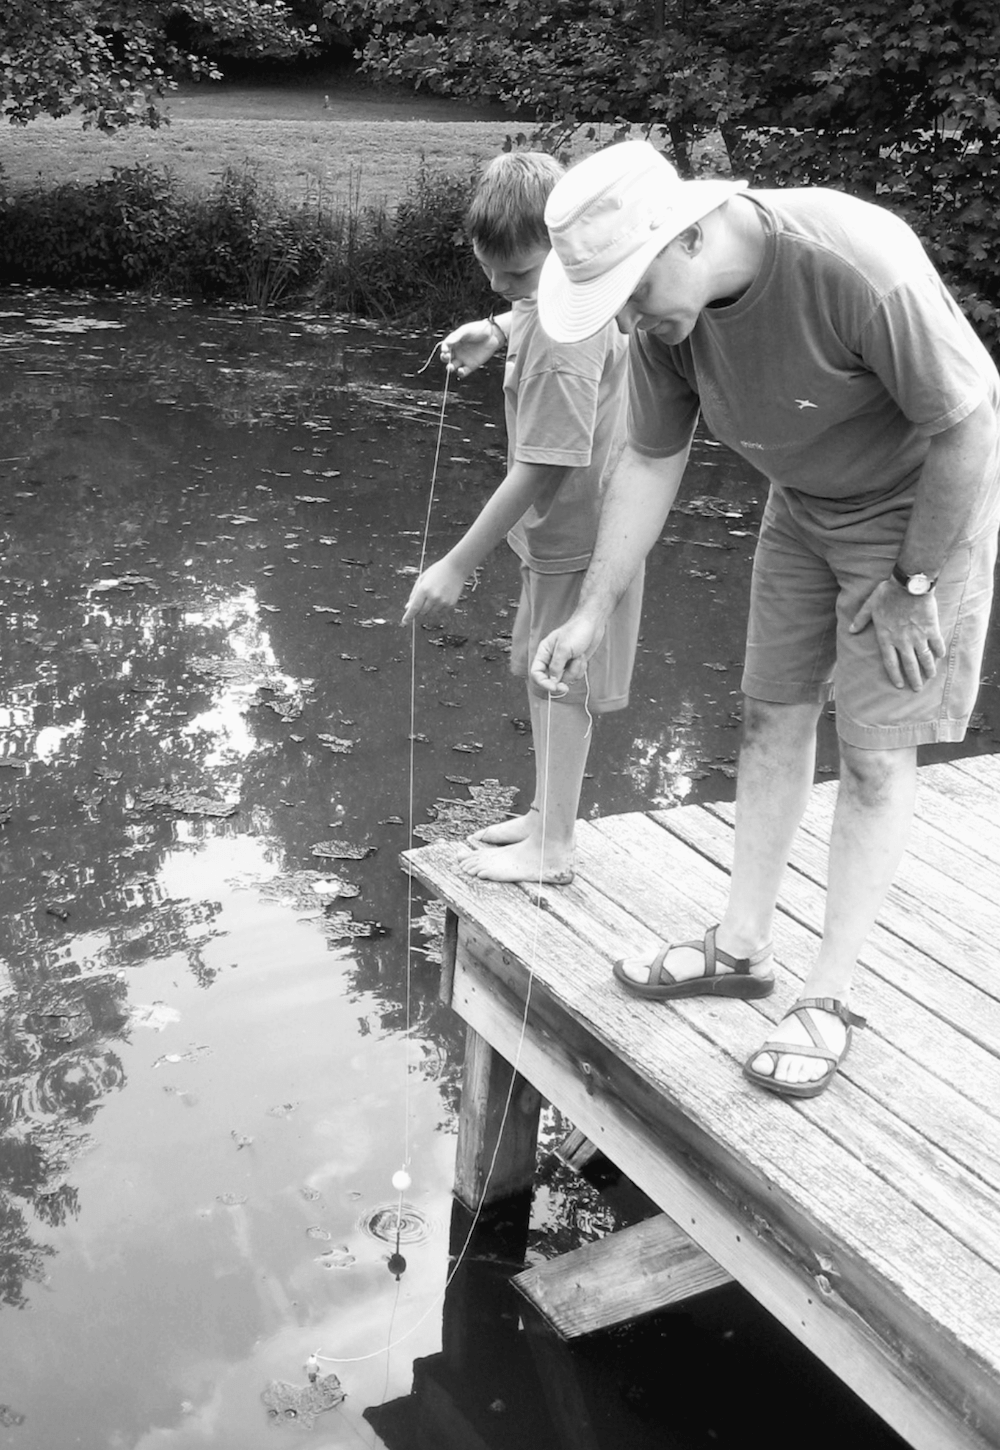
- Like a fishing drop line, your duck foot can be deployed into a pond or lake by carefully tossing it into the water and tying off the line so it doesn’t float away.
2. Permit your duck foot model to float in the pond for at least 2 or 3 days (duration is open-ended). When you recover your model, have a pan or sealable bag ready to receive the model immediately after lifting it out of the water. Don’t collect extra water, just remove the foot from the water directly into the pan or bag. At home, carefully rinse the webbed “foot” over the pan using a squirt bottle filled with fresh water.
3. Use a magnifying glass or dissecting microscope to inspect the foot for any evidence of plant or animal life. Similarly, samples of the pan water can be transferred using a pipet or baster to a petri dish or similar object for observation under the dissecting microscope. It may be difficult to distinguish some small organisms like protists and algae from debris, but careful observation will reveal their structure, and show protozoa continually moving around. Larger organisms—insect larvae, minute snails, etc.—should be obvious. Record the organisms observed, and attempt to count or estimate their numbers.
4. This experiment has a flexible run-time, from days to weeks or longer. With a number of copies the models can be retrieved and analyzed a few at a time—at, say, 1-week intervals over the course of 1–3 months. The number and diversity of organisms adhering to the feet can be tabulated for individual “ducks” and for the group as a whole. Those deploying multiple duck feet can graph the results over time, and/or graph the yield from different foot materials. Do some materials do a better job of attracting colonists? Does the type or abundance of organisms vary among materials, with different materials being richer in different groups?
From the book Darwin’s Backyard by James T. Costa. © 2017 by James T. Costa. Used with permission of the publisher, W.W. Norton & Company, Inc. All rights reserved.